Paint Night at Home
(Without Turning Your House Into a Mess)
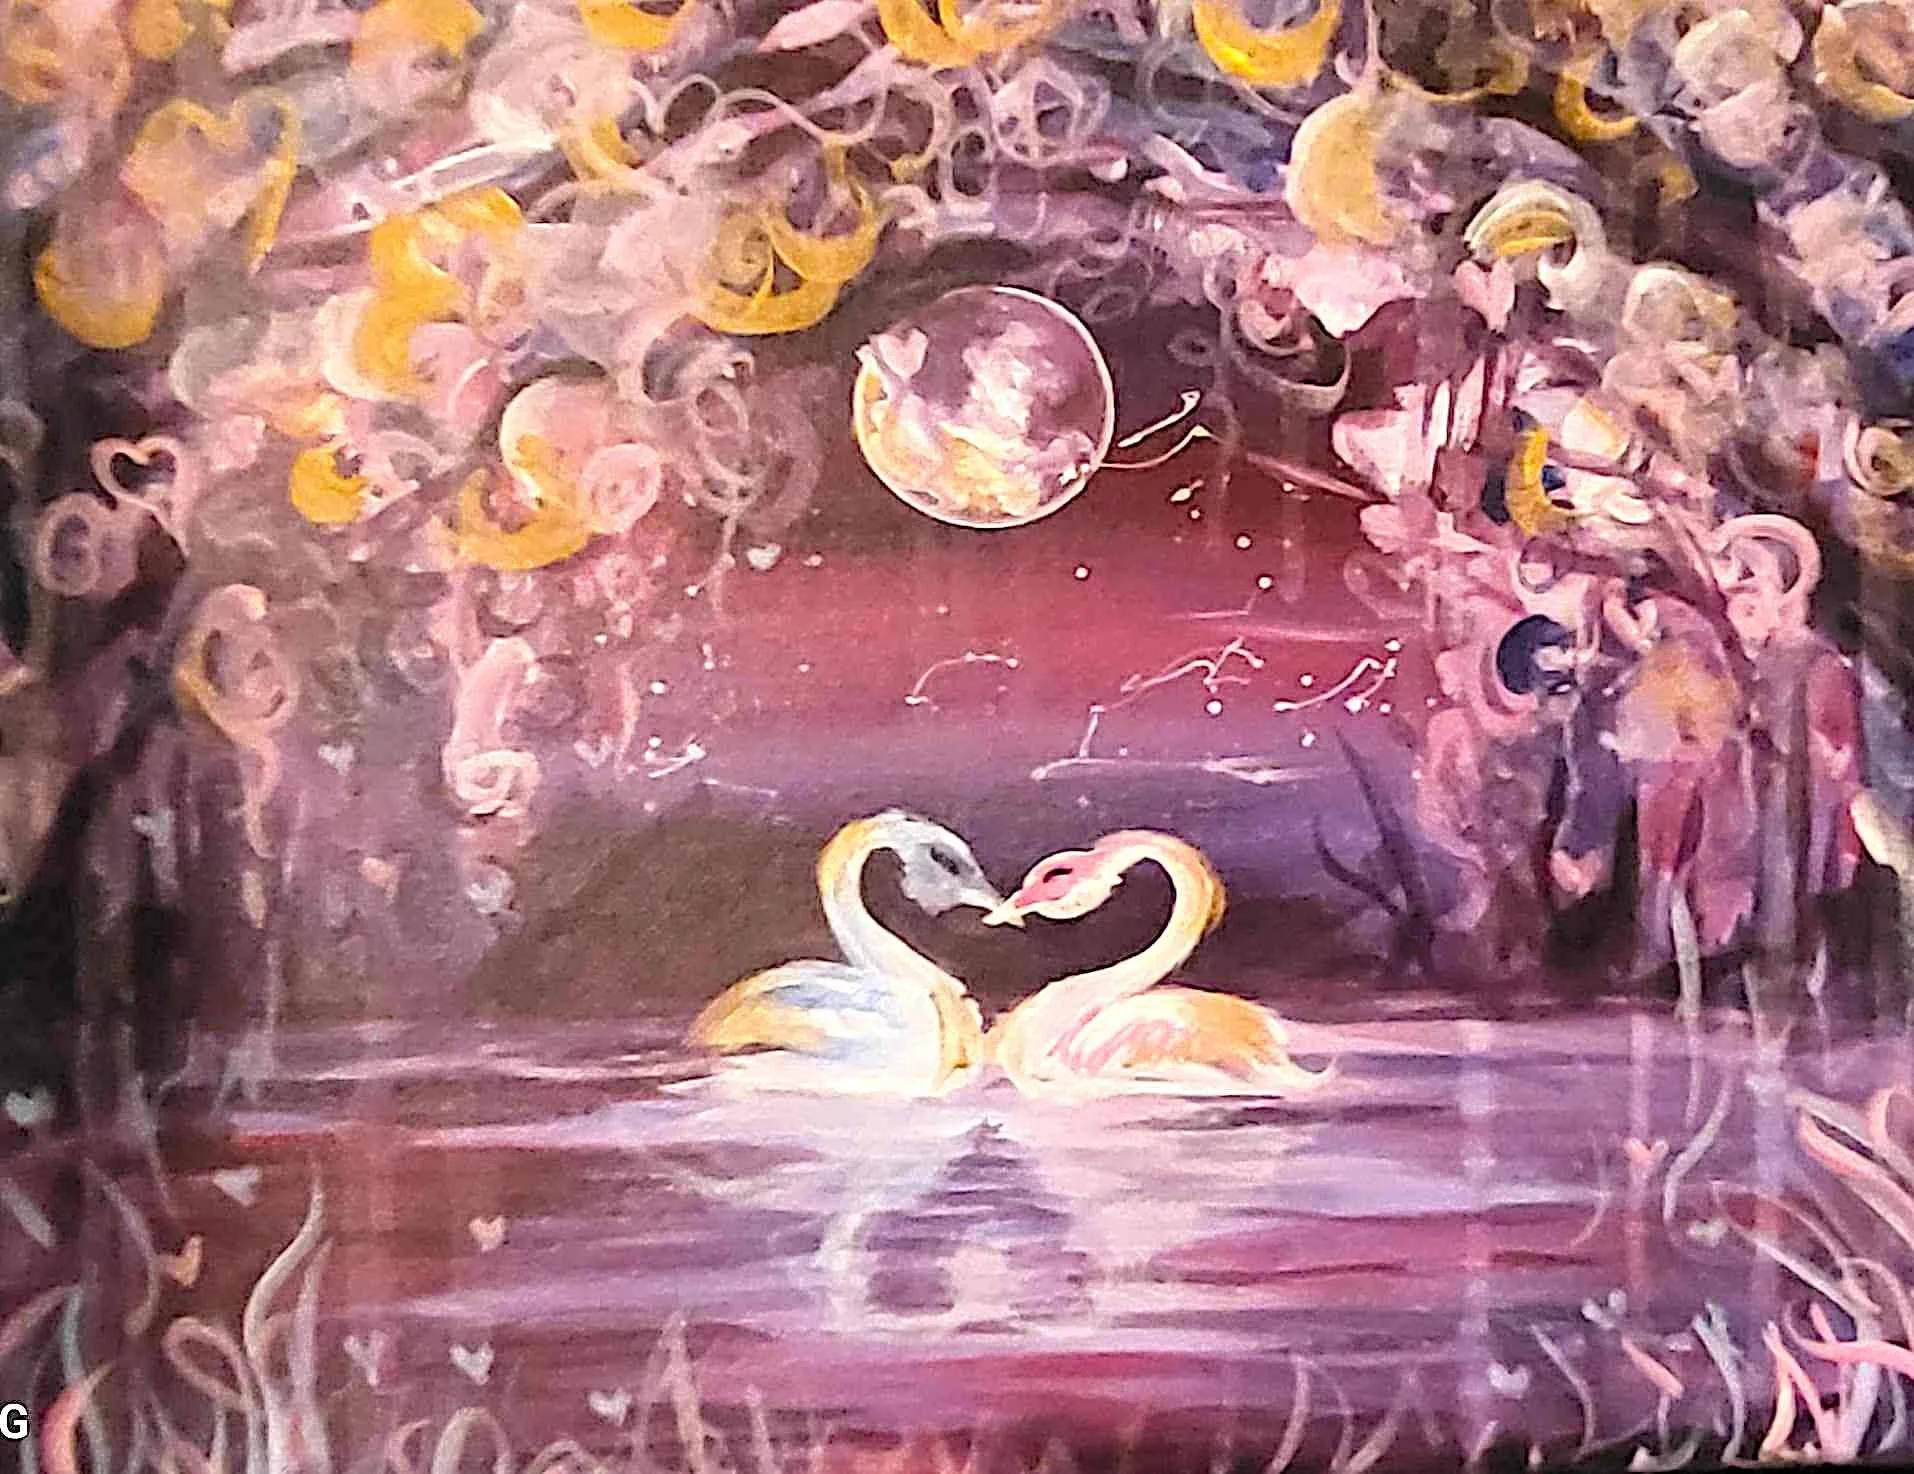
So you came to a class at Stroke of Genius, had a blast, and left with a painting you never thought you could make. Now you're thinking… Could I do this at home?
The answer is yes — and we’re here to help you set up a DIY paint night that channels the same laid-back, creative vibe you loved at our downtown Waukesha studio.
Here’s how to turn your kitchen, living room, or backyard into your own personal paint and sip night.
Step 1: Set the Scene Like a Pro
Your environment sets the tone, just like it does at our studio. Don’t skip this part!
What you need:
A clear table (cover it with a plastic tablecloth, trash bag, or old sheet)
Aprons or oversized t-shirts (you’ll thank yourself later)
A speaker for upbeat music (we recommend jazz, indie, or anything chill and fun)
Wine, cocktails, soda — whatever you like to sip on
Good lighting (natural is best, but a bright lamp works too)
Bonus tip: Invite friends or family to join. Painting together is half the fun — and much less awkward when you’re not alone trying to figure out what a “dry brush” is.

Step 2: Gather Your Supplies
Don’t overthink it — you don’t need professional-grade tools to get a great result.
Here’s what we use at the studio (and what you can get easily):
Canvas or thick paper (8x10 or 11x14 are great sizes)
Acrylic paints: Red, yellow, blue, black, white, and maybe a brown (everything else you can mix yourself!)
Brushes:
A large flat brush (for backgrounds)
A medium round brush
A small detail brush (the smaller the better)
Water cup & paper towels
Palette (a paper plate works fine)
Reference image: Try one of the paintings you did at Stroke of Genius, or search “easy acrylic painting” online. You can also follow a video too: https://www.youtube.com/playlist?list=PLLjly8HmVGeTa4IboM-1mwL2DZANLkpfa
Optional: Easel, chalk/pencil for sketching, and painter’s tape for clean edges.
Step 3: Plan Your Painting Process
One of our biggest secrets? We always work background to foreground — that means:
Sky or background wash
Mountains, clouds, trees in the distance
Foreground shapes and details (like flowers, silhouettes, or buildings)
Helpful reminders:
Let layers dry before painting over them (a hair dryer on low speed helps)
Mix colors slowly — start light and add darker shades bit by bit
Don’t be afraid to make mistakes — it’s part of the process!
You can also find follow-along tutorials on YouTube, or even book a private Zoom session with one of our instructors if you want extra help (yes, we do that!).
Step 4: Clean Up Without the Stress
Acrylic paint dries fast and can be super stubborn — clean up right away and you'll save yourself trouble later.
Clean-up checklist:
Rinse brushes with warm water and mild soap
Wipe palettes and rinse cups before paint dries
Toss or wash table coverings
Store leftover paint in sealed containers for next time
Post your painting online and tag us! (We love seeing your home creations)

Final Thoughts: You Don’t Need a Studio to Make Art
We love when people come to paint with us — but the real goal is to help you feel confident enough to keep creating anywhere. Art isn’t about perfection. It’s about joy, exploration, and giving yourself permission to play.
So pour yourself a drink, put on a playlist, and get painting.
And if you ever want to paint with a little extra help (or fewer dishes), you know where to find us — right here at Stroke of Genius, downtown Waukesha. We have art club, open paint, classes, and more!! https://paintwinestudio.com/calendar